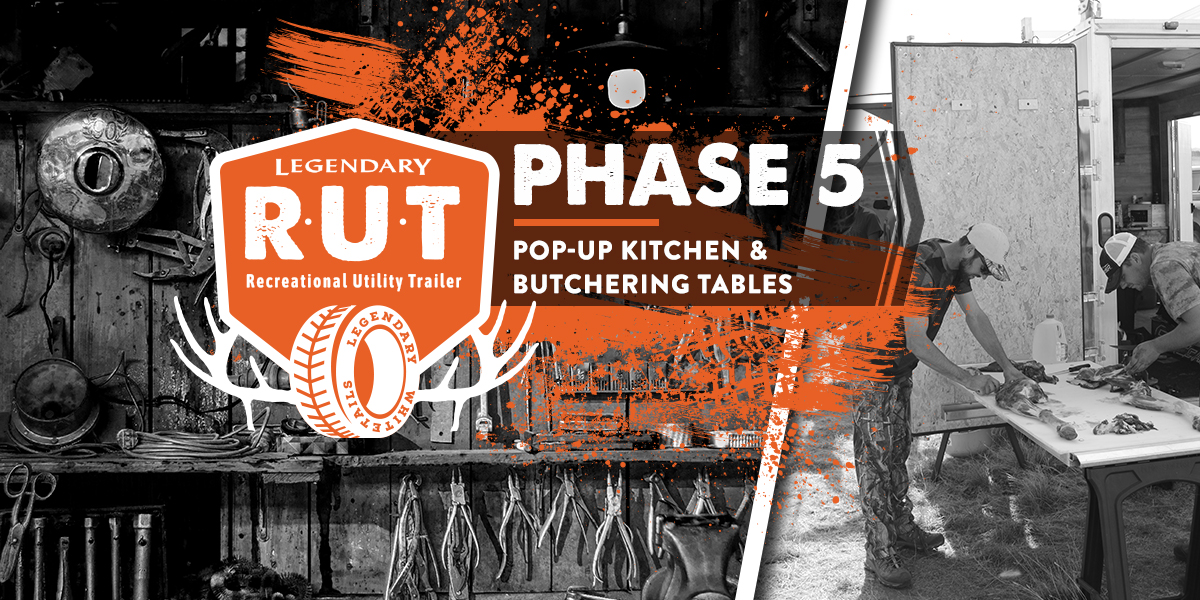
Ahhh, the kitchen. The smells, the tastes, the camp camaraderie – it’s always centered around the kitchen. And adventures in the R.U.T (Recreational Utility Trailer) are no different. Whether we’re in the parking lot of Lambeau Field or parked off the end of a dirt road we call home to deer camp, plenty of thought and ingenuity went into the kitchen design of the R.U.T Wagon. In the video below, check out how we transformed the back of the trailer into a massive camp kitchen setup that takes up barely any space at all.
Camp Stove
After a long day of hunting and hiking, there’s nothing better than coming back to camp for a hearty meal of freshly harvested protein and potatoes. Food is an essential piece of any outdoor adventure, whether that adventure is on the shore of a remote lake or right outside of deer camp. On our first R.U.T. adventure to Wyoming, it was no surprise that the stove was the hub for camp camaraderie every night. With a beer in one hand, and the other one grabbing slices of fresh backstrap off the sizzling griddle, this was where we huddled to share the daily recaps and Celebrate the Hunt.
 The Camp Chef Stove got a good workout in Wyoming cooking for six guys all week.
At the center of attention was the Camp Chef Pro 60X Two-Burner Stove. It’s design and versatility made it the perfect kitchen companion for the R.U.T. Wagon. The legs fold up and under for a compact design that stows away nice and clean in a zippered carrying case. Over the flame, we use a combo of Camp Chef cast iron accessories, including the large griddle, and the National Parks Dutch oven and cast iron set.
Stow & Go Butchering Tables
The other main component of the Legendary R.U.T. kitchen (besides the Camp Chef stove of course) is the stow-and-go butchering tables. If you’ve been following the R.U.T. Project from the beginning, you know that a space-saving design has been paramount throughout the build, and the kitchen was no different. We utilized the ramps that came with the Stealth trailer and transformed them into two sizeable tables for processing game and tailgating spreads.
 The trailer ramps are multifunctional and serve as not only ATV ramps, but the kitchen/butchering tables as well.
The nicest thing about the two ramps is how they take up practically zero space with the way they mount on the back doors during transit. Two large turn knobs hold each ramp firmly in place, while the bottom sits in an aluminum box-like shelf. We’ll admit, we had no part in the original stow-and-go ramp design, but we did figure out how to turn them into usable kitchen space. For this, a simple Google Search for “large plastic cutting board” led us to US Plastic Corp. where we could order a custom size piece of white cutting board material to bolt onto the ramps. We went with two 60” x 30” slabs of cutting board material, then bolted the corners to the aluminum ramps using wing nuts on the back side for an easy-on-easy-off design in case we need the ramps for loading an ATV.
 Full view of the kitchen setup complete with a canopy tent.
The simple addition of custom table tops gave us plenty of usable counter space once we figured out how to get them to stand. For this, we looked at the doors and determined that a bent piece of angle iron would work to hold the lip of the ramp in place on one end, while a sawhorse would hold up the other end. The design works well, but we will probably add folding legs to the ramps in the future so they can function as stand-alone tables that don’t require the back doors to be open.
 The large workspace and butchering tables make game processing out in the field super easy.
Kitchen Accessories
In addition to the Camp Chef Stove and butchering tables, we needed a place to store the cast iron pots and pans, along with the plates, cups, and other camp cookware. Enter the camp chuck box.
 The chuck box attaches to the door and keeps everything nice and organized.
A chuck box is a common phrase in the camping world for a basic DIY wooden box of some sort that holds all of your kitchen supplies. For ours, it was nothing fancy; just a simple box made from plywood that hung from the door using the knobs that came with the ramp. A couple of hinges and a latch later, and we had ourselves a good old-fashioned chuck box. Lastly, four magnetic knife boards were added to the back doors to keep things safe and organized while processing game and cooking dinner.
R.U.T. Phase 5 Wrap-Up
Well, it’s been a fun road documenting and sharing the build of the entire R.U.T. Wagon Project with everyone. We hope you enjoyed it, and maybe even got some inspiration for your own R.U.T. project. Check out the entire build below, and always remember to Celebrate the Hunt!
Build Phases
Phase 1: Behind the Walls – Insulation, Wiring, and Window Installation
Phase 2: Full Trailer Wrap Graphics Installation w/Wild West Studios
Phase 3: V-Nose Cabinets, Flooring, Freezer, Game Hoist
Phase 4: D-I-Y Roof Mounted PVC Pressurized Water Tanks
Phase 5: Extendable L-Shaped Kitchen Build
Finale: The FULL TOUR.


