


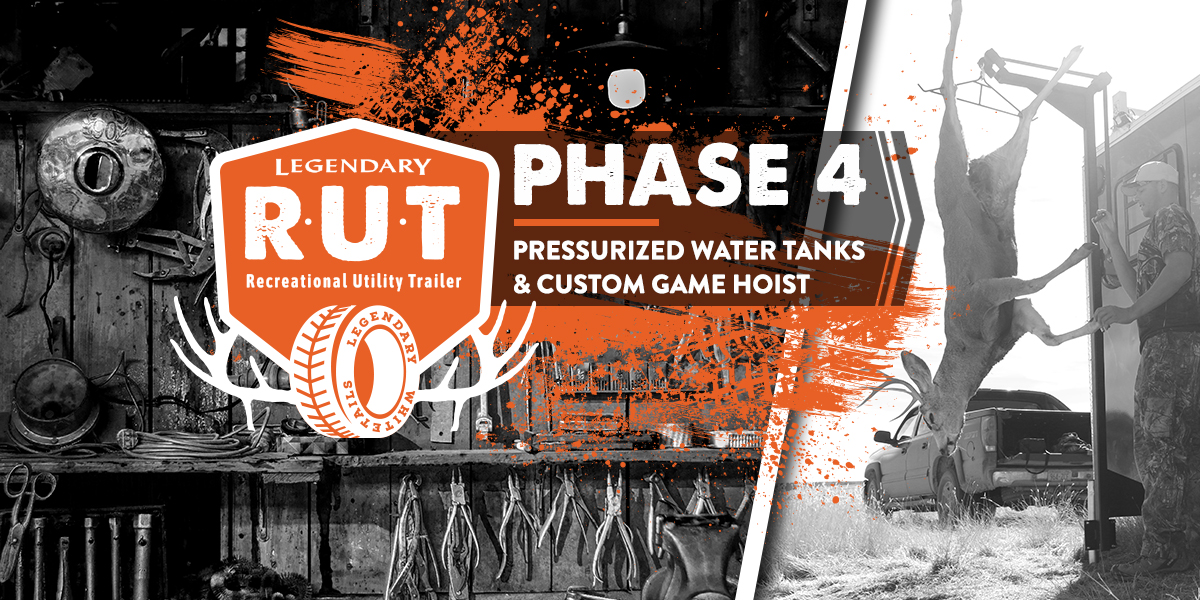
Here. We. Go. The lights have been wired, the trailer has been wrapped, and the interior has been deer campified. Now, it’s finally time to make this trailer truly LEGENDARY! We bust into the trades for Phase 4 of the R.U.T. Project and weld up a custom game hoist and receiver mount for the trailer. Then we jump up to the roof and rig up two custom DIY pressurized water tanks with just a few simple plumbing supplies. As you’ll see in the video below, these custom D-I-Y add-ons come in quite handy at deer camp and make the Legendary R.U.T. a deer hunter’s best friend.
Building a Custom Game Hoist for the R.U.T.
Let’s be honest – a deer hunting trailer without a game hoist is still just a trailer. From the get-go, the custom-built game hoist was a core feature of the Legendary R.U.T. Before settling on the fairly standard design concept, we tossed around the possibility of somehow making it a connected/extendable feature from the roof rack. While the thought and ingenuity was there, ultimately the aluminum roof rack didn’t offer the support or rigidness needed to hang a deer or an elk from it. Thus, our master metal fabricating friend, Alex, modified/bolstered the somewhat standard design that you may have seen on Amazon or at your local sporting goods store and made it 5x’s stronger.
 Giving the game hoist a fresh coat of flat black paint
 The game hoist got its use during the first R.U.T. adventure in Wyoming
The design of the game hoist itself was only half of the battle. The other half was finding a way to rig up a 2” receiver mount to the trailer. Sure, it would work as-is in any truck or ATV already equipped with a 2” receiver, but that wasn’t good enough. We wanted it to be part of the trailer and in a place where we could take advantage of the roof mounted LED lights for any late-night butchering sessions. Once again, Alex went to work. Below is what he fabricated…
 The receiver, spacer, and mounting bracket for the game hoist.

D-I-Y Pressurized Water Tanks
Switching gears, let’s move on to the water tank design. Adding some sort of water tank system was another one of those core features we wanted the trailer to have. Again, we bounced around ideas on what type of tank we wanted and where it would be mounted. At first, we thought we would go with a stock tank and 12v pump; However, shape, size, and price limitations lead us to ultimately build our own.
Wanting something sleek and balanced, we decided long PVC cylinders would work the best and hold an appropriate amount of water. Not only that, but the tool rack on the top of the trailer provided the perfect platform to secure the two tanks. Each tank is 14’ long and holds roughly 9 gallons of water, which is a lot more than it sounds like. Two tanks last for about a week, depending on use.

To be clear, the tanks are meant to store non-potable water for things like cleaning dishes, rinsing out game, quick showers, or a wash station. The tanks were spray painted flat black as a way to increase their thermal efficiency and warm the water as much as possible throughout the day.
Here’s a step-by-step instructional on how you can make the DIY pressurized water tanks for your hunting or camping trailer.
Materials
- 4” PVC Pipe
- 2 – 4” Cap Fittings
- 1 – 4” Cleanout T (a cleanout T has a threaded cap)
- 1 Shrader Valve
- 1 Hose Bib – get one that’s threaded and buy a brass lock nut
- PVC Primer and Glue
- Spray Paint
- Teflon Tape or O-Ring
Instructions
- Cut your pipe to the desired length. Be sure to factor in where you’ll place the T fitting for ease of filling.
- In one of the end cap fittings, drill a hole the exact size of your Shrader valve. Put the valve in place and secure using the nut that came with the valve. The rubber grommet should seal any gaps once tightened.
- On the other end cap, drill a hole the exact size of the hose spigot threads in the lower half of the cap. Be sure to leave enough room for the nut on the backside to spin. Use caulk to seal around the threaded portion prior to tightening the backing nut on. Tighten backing nut.
- Glue all portions of the tank together using PVC glue and primer.
- Assembly Order: END CAP w/SHRADER VALVE > PIPE > CLEANOUT T FITTING > PIPE > END CAP w/HOSE SPIGOT
- Spray paint black if you prefer.
- Fill with water. Seal threads with Teflon or O-ring before tightening. Pressurize. Spray.


Build Phases & Future Blogs
Phase 1: Behind the Walls – Insulation, Wiring, and Window Installation
Phase 2: Full Trailer Wrap Graphics Installation w/Wild West Studios
Phase 3: V-Nose Cabinets, Flooring, Freezer, Walls
Phase 4: D-I-Y Roof Mounted PVC Pressurized Water Tanks & Game Hoist
Phase 5: Extendable L-Shaped Kitchen Build
Finale: The Big Shebang!
Other Project R.U.T. Videos
