


Here’s a simple question for you hunters out there, do you process your own game? If you don’t, why not? As a hunter and DIY game processor, the number of hunters who simply drop off their deer at a butcher shop and wait for a phone call always baffles me. You’ve already put yourself through the most challenging part of providing meat for the table, so why you wouldn’t take a couple of hours to ensure you have the freshest cuts available from YOUR deer is mind-boggling.
Think about it, every season you spend hundreds, if not thousands of dollars on equipment that’s supposed to “help” you put meat on the table. You also spend hours upon hours pursuing the game. Of all the work involved, this is the easiest, fastest, and most rewarding part of the entire hunt. If you’ve yet to process one of your animals, don’t be afraid to start…it’s easy, so jump right in!
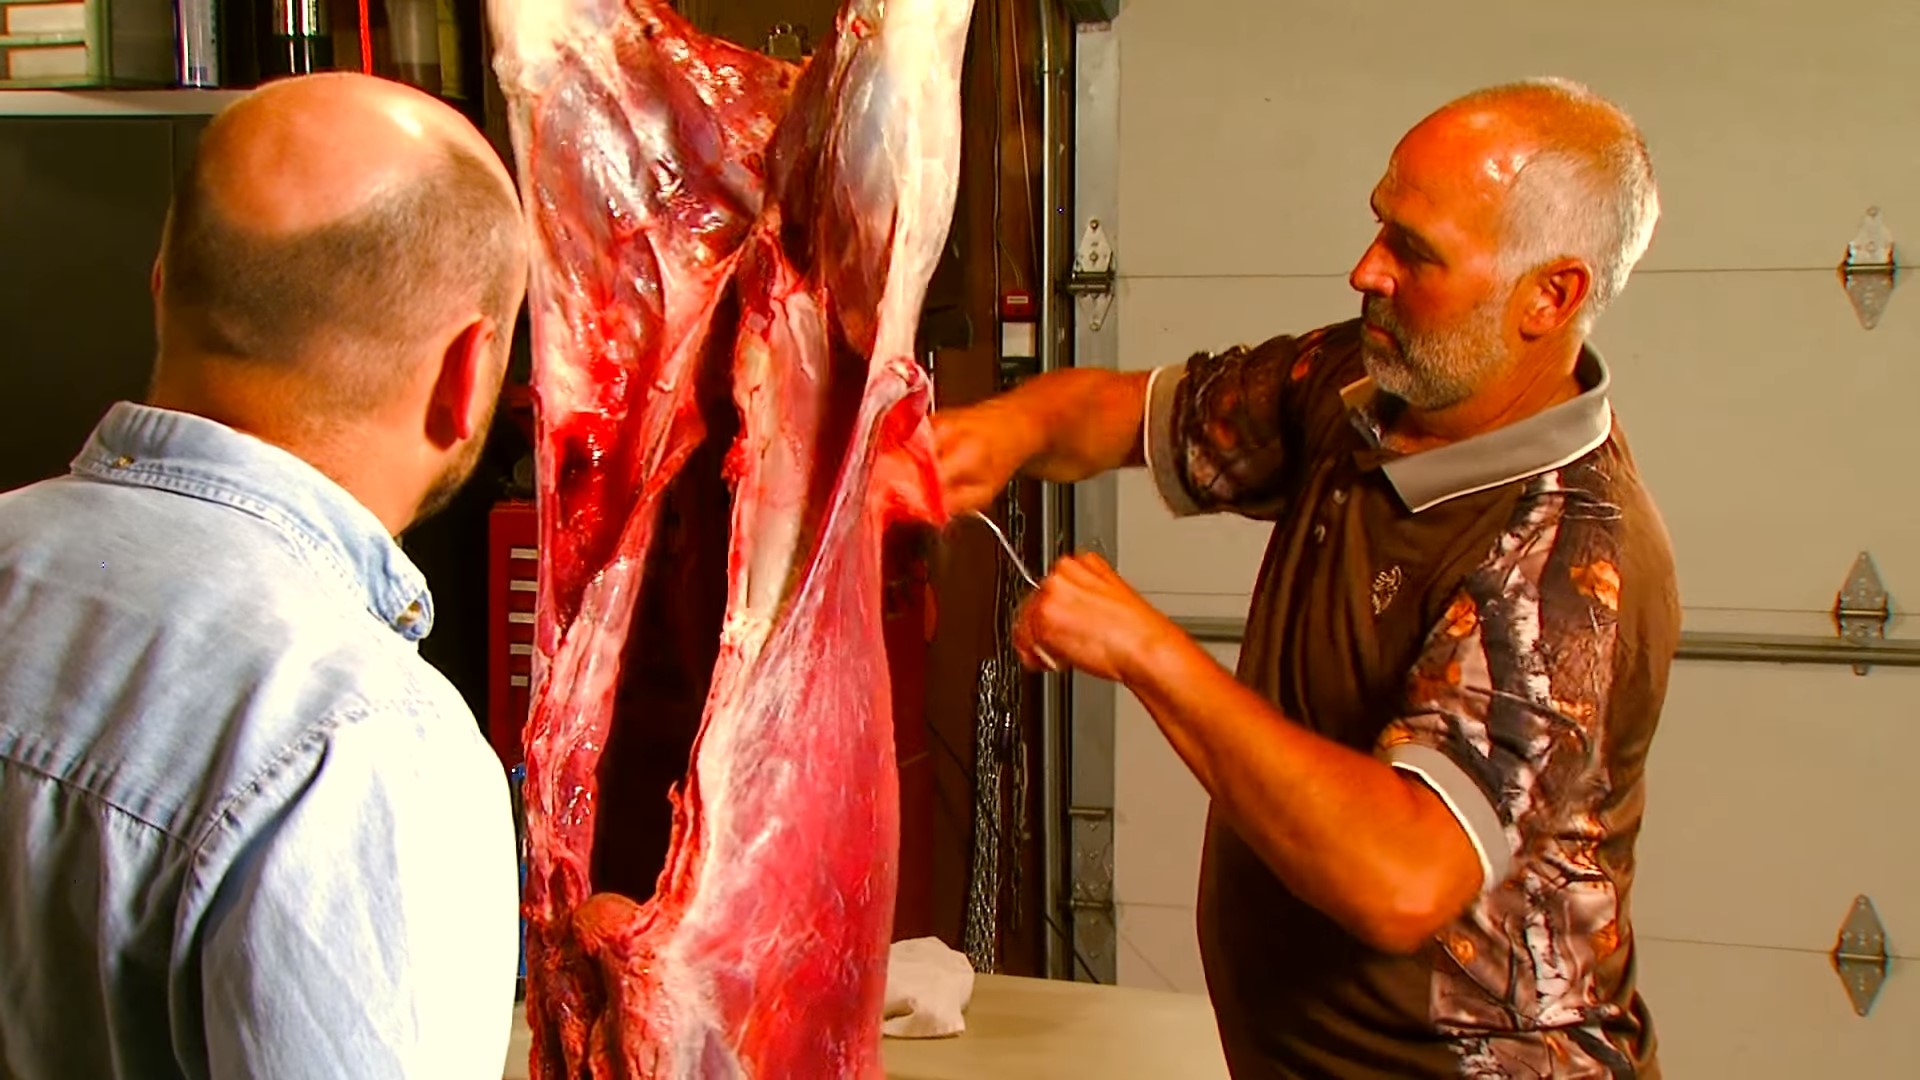
In these two video tutorials, Larry Bonde, Chairman of the Wisconsin Conservation Congress, shows you how to easily process your deer from start to finish, all the way from skinning the animal to packaging the finer cuts of meat. Also, don’t forget to read some of the helpful tips from Al Cambrone, co-author of Gut It. Cut It. Cook it.: The Deer Hunter’s Guide to Processing and Preparing Venison.
FAQs About Processing Your Deer
LW: What would you tell hunters who are curious about butchering their own deer? Maybe they’re new hunters, or maybe they’ve been hunting for years, but until now they’ve been paying someone else to process their deer. What should they know?
AC: With the techniques we show readers in Gut It. Cut It. Cook It., skinning and butchering your own deer isn’t really that hard. It’s a new skill to learn, but it’s not rocket science or brain surgery. Your deer is already dead. As long as you keep your venison clean and cold during this process, there’s nothing that can go seriously wrong. So don’t worry if some of your roasts and steaks turn out a little ragged or lumpy. They’ll still taste great. You can do this.
LW: Let’s start with the tools. What do you need?
AC: All you really need is a sharp knife. In Gut It. Cut It. Cook It., we show you how to butcher deer with a modern, boneless technique that doesn’t require you to saw through lots of bones (It also saves room in your freezer). Although some home butchers prefer to use a saw for removing the deer’s lower legs, even that step can be completed with just a knife. In practice, of course, you’ll probably want more than one knife. You’ll also need things like cutting boards, bowls, plastic wrap, freezer paper, tape, and paper towels.

LW: After your deer is down, what’s the first thing you should do?
AC: First, be absolutely certain your deer is dead. If you’re not sure, approach from a safe direction and touch the deer with your foot or the end of your rifle barrel. Once that’s done, tag your deer. Next, take a moment to calm down and catch your breath. You’ll want to field-dress your deer as soon as you can, but another minute or two won’t matter. If it’s gun season, and if you remove a layer of clothing, make sure you’re still wearing some blaze orange. Lay out everything you need. If it’s been a while, mentally rehearse those next few steps. There. Now let’s get to work.
LW: Is there a right way and a wrong way to field dress a deer?
AC: We’ll show you a method that works, and variations are fine. You’ll definitely hear different opinions on where to start the job and how to complete certain steps. But I can think of three traditional practices hunters should definitely avoid. First, don’t cut those tarsal glands on the deer’s hind legs. Although some hunters slice them off to avoid contaminating the meat, there’s no better way to do exactly that than to slice into them and then use the same knife to field-dress and butcher your deer. Instead, just leave those scent glands alone. Second, don’t cut the deer’s throat to bleed it out. It’s totally unnecessary, and it only provides an extra opening for dirt and germs. Finally, for that same reason, don’t open your deer up all the way from its chin to its tail. Not necessary.
LW: Which part of butchering a deer presents the most challenges?
AC: Field-dressing is the most messy, unpleasant part of the entire process. But you’ll be doing that job yourself anyway, even if you pay someone else to take it from there. After that, it just gets easier. Another thing to remember: If your steaks don’t all turn out to be perfectly symmetrical, it’s no big deal. Some of those chunks are going to end up as stew or burger anyway. Even if parts of the very best cuts end up as scraps and shreds, they’ll be great for stir-fries and fajitas. So don’t worry about perfection. Just relax.
That said, certain steps can be a little challenging—especially the first few times. Depending on the deer, for example, skinning can take longer than expected. But don’t be discouraged if it’s difficult right from the beginning. Some of the leg areas that are harder to peel are also the areas you’ll skin first. It gets easier as you go along. What else? Trimming meat off the shoulders and hindquarters takes patience, and some of those bones and joints might not be exactly where you expect them to be. It gets easier with practice. A good rule of thumb is to just follow the individual muscle groups and cut them out one at a time. They are separated with a fibrous silver skin which makes following them easy. Just take your time, and remember that it’s not a race and you can’t really mess up.
LW: Let’s say it’s an unseasonably warm day. Do we need to take any special precautions?
AC: Yes. At moderate temperatures the situation is less urgent. But if it’s really warm (above 50°F), you’ll want to field-dress your deer and get it chilled down as quickly as possible. If you can, plan ahead and fill a cooler with bags of ice. If you don’t get a deer, refreeze the bags when you get home, then get them back in the cooler the next morning. When you do get a deer, you’re going to field-dress it, get it in your vehicle, and then put the ice—still in the bag—inside its body cavity. That will chill it from the inside out. Shove as many bags in there as you can. Pile the rest alongside the deer. Plan B: Stop for ice on the way home, first chance you get. I suppose a sunny pickup bed or hitch’n haul is less than ideal. Try lots of ice, and a damp tarp covering everything.
LW: To hang or not to hang? And at what temperature? Where? How long?
AC: Not everyone will agree with what I’m about to say; our beliefs about aging venison are often based on tradition rather than actual food science. We may have learned the “right” way from Grandpa, but it’s time to debunk a few myths about aging venison.
The short version: Aging your venison won’t significantly improve it, and aging your venison outdoors more than a day or two will almost always make it taste worse. It could even turn your venison into a serious health hazard.
How did we come to believe otherwise? The way we think about venison has been hugely influenced by the marketing of aged beef. But let’s remember that most beef, including steak, is not aged. Today it makes the trip from slaughterhouse to supermarket in about three days. Pork, lamb, and other meats aren’t aged, either. Like venison, they don’t need it.
And the tiny percentage of beef that’s dry-aged for fancy steakhouses? It’s aged indoors in carefully controlled conditions—not just in a standard walk-in cooler, but in a sterile environment kept between 1 and 3 degrees Celsius, with humidity levels of 50 to 75%. To slowly dry the meat, air is kept circulating continuously. Compare that to deer hanging on an outdoor buck pole where you’ve got freezing, thawing, sun, wind, rain, and wide temperature swings every day—hopefully for not too many days.
So, depending on the weather, it might be fine to hang your deer for a day or two. But any longer is likely to do more harm than good. Well-intentioned aging in uncontrolled conditions is one of the biggest reasons for the “gamey” taste of wild game.
LW: What else can hunters do to prevent that “gamey” taste?
AC: Keep your venison clean and cool every step of the way. Get that deer butchered and into the freezer within a day or two. If you can do that, your venison will taste great.
But even then, don’t expect it to taste like cow meat. These days, even beef doesn’t taste like beef. One reason is that most American beef is now raised in feedlots. When people try grass-fed beef because they’ve heard it’s healthier or more flavorful, they often decide it’s not for them. It has a different flavor—almost like venison. Free-range organic venison doesn’t naturally taste “gamey.” It naturally tastes great. Removing the silver skin from the individual muscle groups will also help your venison taste great. Instead of disguising that natural flavor with sauces, marinades, and gallons of cheap Italian dressing in giant plastic jugs, let’s celebrate and savor it.
LW: What about in the kitchen? What should hunters remember when they’re cooking their venison, and how is cooking venison different from cooking beef?
AC: The most important thing to remember: Don’t overcook it. On the grill, it takes just seconds for steaks to go from perfection to overdone shoe leather. How long you cook your venison makes way more difference than the age of the deer, how long it was aged while hanging from the oak tree in your front yard, or pretty much any other venison variable you can think of. With a slow cooker, no worries. But with just about any other cooking method, a little overcooking can negate everything you’ve done right up until now. Unlike beef or pork, venison has very little intramuscular fat that’s marbled right into the meat. That doesn’t mean venison has to be dry. It does, however, mean you can’t get away with overcooking it.
LW: Anything else you’d like our readers to know?
AC: Like I said, you can do this. With the techniques we show readers in Gut It. Cut It. Cook It., skinning and butchering your own deer isn’t really that hard. It’s a new skill to learn, but it’s not rocket science. So don’t worry if some of your roasts and steaks turn out a little ragged or lumpy. They’ll still taste great. Remember, too, that it’s not a race. Take your time, work safely, and save the serious celebrating for after you’re done.
Let’s be real. This is going to be some work, and it definitely takes longer the first few times. But it’s also incredibly rewarding to know you’ve done it all yourself, every step of the way—from pulling the trigger to washing the dishes.

