


You have a deer down—congratulations! Walking up to your harvest is a moment filled with elation, joy, and appreciation for the deer and the hunt. Following this moment of joy, you are faced with the task of field dressing the deer to prepare the meat for your freezer. Most deer will yield at least 30 pounds of high-quality venison with some topping the 50-pound meat yield mark. Field dress the animal properly and that meat will taste phenomenal, providing many meals throughout the year.
Safety First
Before you get excited and jump into the process, make sure the deer is fully expired. When you first approach, keep an arrow knocked or a round in the chamber just in case. Make a visual observation then approach slowly and poke the eyeball to confirm the deer has expired.
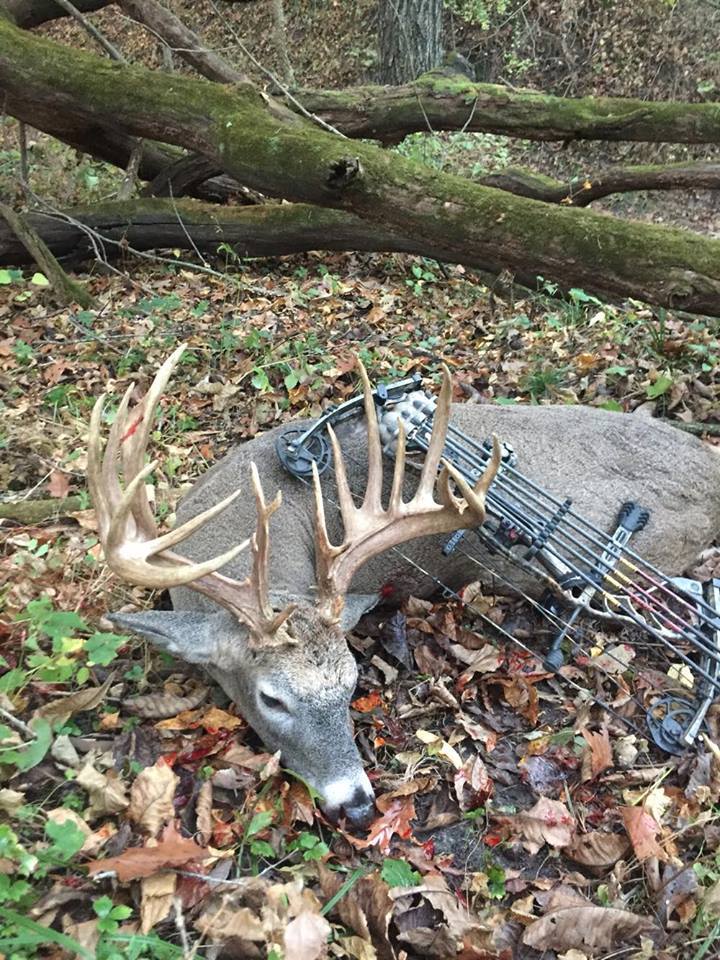
After you snap a quick photograph, check the area for any danger. You will need a safe workspace and stable ground to field dress the animal. Reposition the deer to the best workspace in the area. That may require dragging the animal a few feet to reach a clean bed of grass. A slight slope will also work in your favor when pulling the intestines and internal organs. Solo hunters can also benefit from a tree where anchoring the deer with a rope is easy. This is not necessary to complete the task, however.
Things You Need
You really only need a knife to field dress a deer. A really, really sharp knife is the key to field dressing and processing game at home. A large knife is not necessary, and small blades are actually much easier to manipulate as they work well for making accurate cuts.
A bone saw is useful in some cases. Bone saws are not necessary, but it doesn’t hurt to have one in the truck. If you are parked close, grab it to help with the processing. The last item is a pair of latex gloves. Again, they are not mandatory, but wearing gloves helps to protect your hands.
If you want to go a step further and quarter the animal, bring along game bags to protect the exposed meat. Dragging the field dressed deer out of the field is often necessary. Bringing along some rope to tie between the head and a stout stick for a handle will help you pull the deer to your vehicle.
Prepping the Deer
The first part of the process involves a cut around the anus. This cut is critical because it allows all of the intestines to separate after making the main incision. Start with the anus cut and the remainder of the field dressing is very simple. Make the cut just over an inch deep in a circle directly around the anus. Sometimes the skin is tough and you must use your fingers to hold it taut. Be very careful not to puncture the intestines here as they can damage your meat.
Now get the deer situated for the main act. Put the deer on its back and spread the hind legs. Having a partner to help hold the deer steady is useful. You can also tie a hind leg to a tree to help keep the legs spread. Squatting with your knees on the deer’s legs will keep them stable as well.
Make Your Incisions
Make your first cut just above the testicles. Keep the knife blade shallow and facing upwards. Continue this cut up the belly, to the chest or breastplate. Keep the knife shallow the entire time. You are only cutting the skin and want to avoid puncturing anything internal. Now the deer is opened up.
Next, use your bonesaw or your knife to press into the breastbone or sternum. You are cutting right down the middle here and hard pressure is required to split the bone in half. When it splits, you can easily pull the bone to spread the ribs and open the chest cavity.
At this point, the stomach and chest are opened. It will steam and begin cooling as the internal organs are exposed to air. The next step involves removing all of the internal contents to cool the meat and take your deer home.
Clear the Cavity
Work your hands into the chest cavity and pull the diaphragm away from the rib cage. A thin membrane of connective tissue holds it to the ribs. Sometimes it will peel away easily, but using the knife blade to sever the membrane makes the process quick and easy. After it breaks loose, reach towards the throat and grasp the windpipe with one hand. Carefully guide the knife above that hand and sever the windpipe. Using one hand to hold the windpipe tight and another to cut it loose with the blade facing away from your hands is the safest method of making this cut.
At this point, everything is loose and will pull right out from the cavity. Remove the heart and liver to eat later. Next, grab the windpipe and pull to remove everything from the chest and stomach all the way down to the anus. Now the cavity is empty outside of pooling blood. Turn the deer to drain the excess blood away.
Your deer is now field dressed and ready to take home. Drag it out, load it up, and prepare to butcher.
